Soap Making
Cold-Process Soap 101: Your First Batch Without Fear
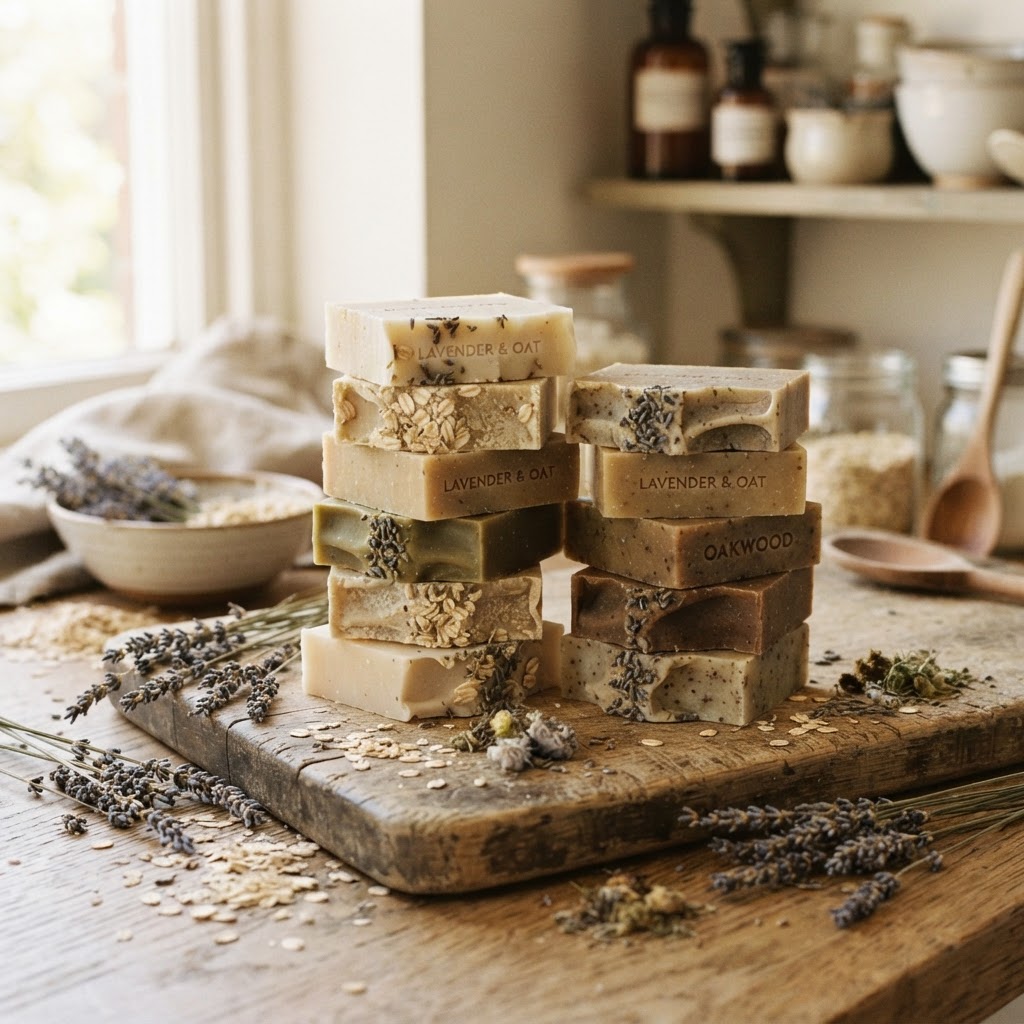
Lye doesn't have to be scary. This is the plain-English, no-drama guide to your very first cold-process soap batch — safety, tools, and the exact steps that actually work.
If you've been thinking about making your first batch of cold-process soap and you're scared of lye — good. That fear means you're paying attention. Now let's replace it with knowledge so you can actually do the thing.
Safety first (and it's simpler than you think)
Lye (sodium hydroxide) is the ingredient that makes soap soap. Without it, you don't have soap — you have a mixture of oils. The fear around lye is real but overblown. Treat it with respect, follow the safety basics, and you'll be fine.
What you actually need:
- Safety glasses (regular glasses are fine if they cover your eyes)
- Nitrile gloves (not latex — lye can eat through latex)
- Long sleeves
- A well-ventilated space (a kitchen with the window open is fine)
The golden rules:
- Always add lye to water, never water to lye. This prevents the lye from volcanically reacting.
- Don't breathe the fumes. When you first mix lye into water, there will be fumes. Turn your head. Keep the space ventilated. It passes in about 30 seconds.
- No aluminum. Lye reacts with aluminum. Use stainless steel, glass, or silicone.
That's it. If you follow those three rules, you're safe.
The tools (you probably already have most of them)
- A digital scale (the one from your kitchen is fine if it measures grams)
- A stainless steel or heat-safe plastic pitcher for the lye solution
- A separate bowl for oils
- A stick blender (this is the one non-negotiable — you can't hand-stir cold-process soap)
- A silicone spatula
- A soap mold (a silicone loaf mold is ideal; a clean, lined cardboard box works in a pinch)
- A thermometer (infrared is easiest)
The recipe: a simple 500g batch
This is a beginner-friendly recipe using easy-to-find oils. Run it through a lye calculator (like SoapCalc.net) to confirm — never trust a recipe blindly.
| Oil | Weight | |---|---| | Olive oil | 300g | | Coconut oil (76°) | 150g | | Castor oil | 50g | | Lye (NaOH) | 69g | | Distilled water | 130g |
This gives you a 5% superfat — meaning 5% of the oils are left unsaponified to make the soap gentle on skin.
The steps
1. Prep your space
Clear your counters. Put on your safety gear. Line your mold if it's not silicone. Make sure kids and pets are out of the kitchen.
2. Weigh everything
Weigh your water, your lye, and your oils — separately, by weight (not volume). Precision matters. This isn't baking where you can eyeball it.
3. Make the lye solution
In a well-ventilated area, slowly pour the lye into the water (never the other way). Stir gently with your spatula until dissolved. It will get hot. Set it aside to cool to around 100–110°F.
4. Melt your oils
Gently heat your solid oils (coconut) until melted, then add your liquid oils. You want both the oils and the lye solution around 100–110°F when you combine them.
5. Combine and blend
Slowly pour the lye solution into the oils. Pulse the stick blender in short bursts (don't run it continuously). You're looking for trace — when the mixture thickens to the consistency of thin pudding and a drizzle of batter sits on top for a second before sinking.
6. Pour and insulate
Pour into your mold. Tap to release air bubbles. Cover with plastic wrap and a towel to insulate. Leave it undisturbed for 24 hours.
7. Cut and cure
After 24–48 hours, unmold and cut into bars. Place them on a rack with space between each bar. Cure for 4–6 weeks in a dry, ventilated space. This is non-negotiable — uncured soap is harsh and won't last.
The moment you'll never forget
The first time you cut into a loaf of soap you made yourself — from scratch, with your own hands — something shifts. It feels like alchemy. Because it kind of is.
You took oil and lye and water and turned it into something that cleans, that nourishes, that you can use every single day. That's a powerful feeling. And once you feel it, you'll want to do it again.
What to do next
- Read your soap in 48 hours — if it's still soft, give it another day. If it's crumbly, your lye concentration was probably off.
- Keep notes on every batch: the recipe, the temps, how long to trace, how it cured. This is how you get better.
- When you're ready, start experimenting with single-oil swaps so you can see what each oil actually does.
You've got this. Go make your first batch.
♡
Keep learning with our e-books
Step-by-step guides for makers — soap recipes, body butter formulas, and more.
Browse E-Books & LearningJoin the Tribe ♡
Get new tutorials, recipes, and maker business tips straight to your inbox.
